Airstream Aluminium Endcaps – The Build
Rebuilding our vintage Airstream has been one of the largest challenges I’ve even taken on. I’m just a normal guy, my background is website design and online marketing, however I love getting my hards dirty and I love the great outdoors.
I posted a picture on my Instagram account and received a few inquires on how to complete this, so thought I would do a blog post.
I got the basic idea from a mix of places, some Airstream forums, some classic sailing boat forums and classic car forums. Restoring any of these items will normally envolve body work with complex curves.
I’d seen many people online who had created the aluminium endcaps but all had used complex curved sections. I didn’t have any plans for these and the old fibreglass endcaps had been distroyed, so I couldn’t use these as a templete. While my end result is similar to the pro’s I used a different approach. I only have basic hand tools available.
Material used 0.8mm sheet aluminium. Nothing special, this is a Travel Trailer not an Aeroplane!! The blue finish you see in the photos is just a plastic film on one side of the aluminum to protect the surface from scratches. I had the option of this when I purchased the sheets. You could use the same process below with other materials, plastic, wood (burch ply), stainless steel, anything you can get in sheet form and is flexible.
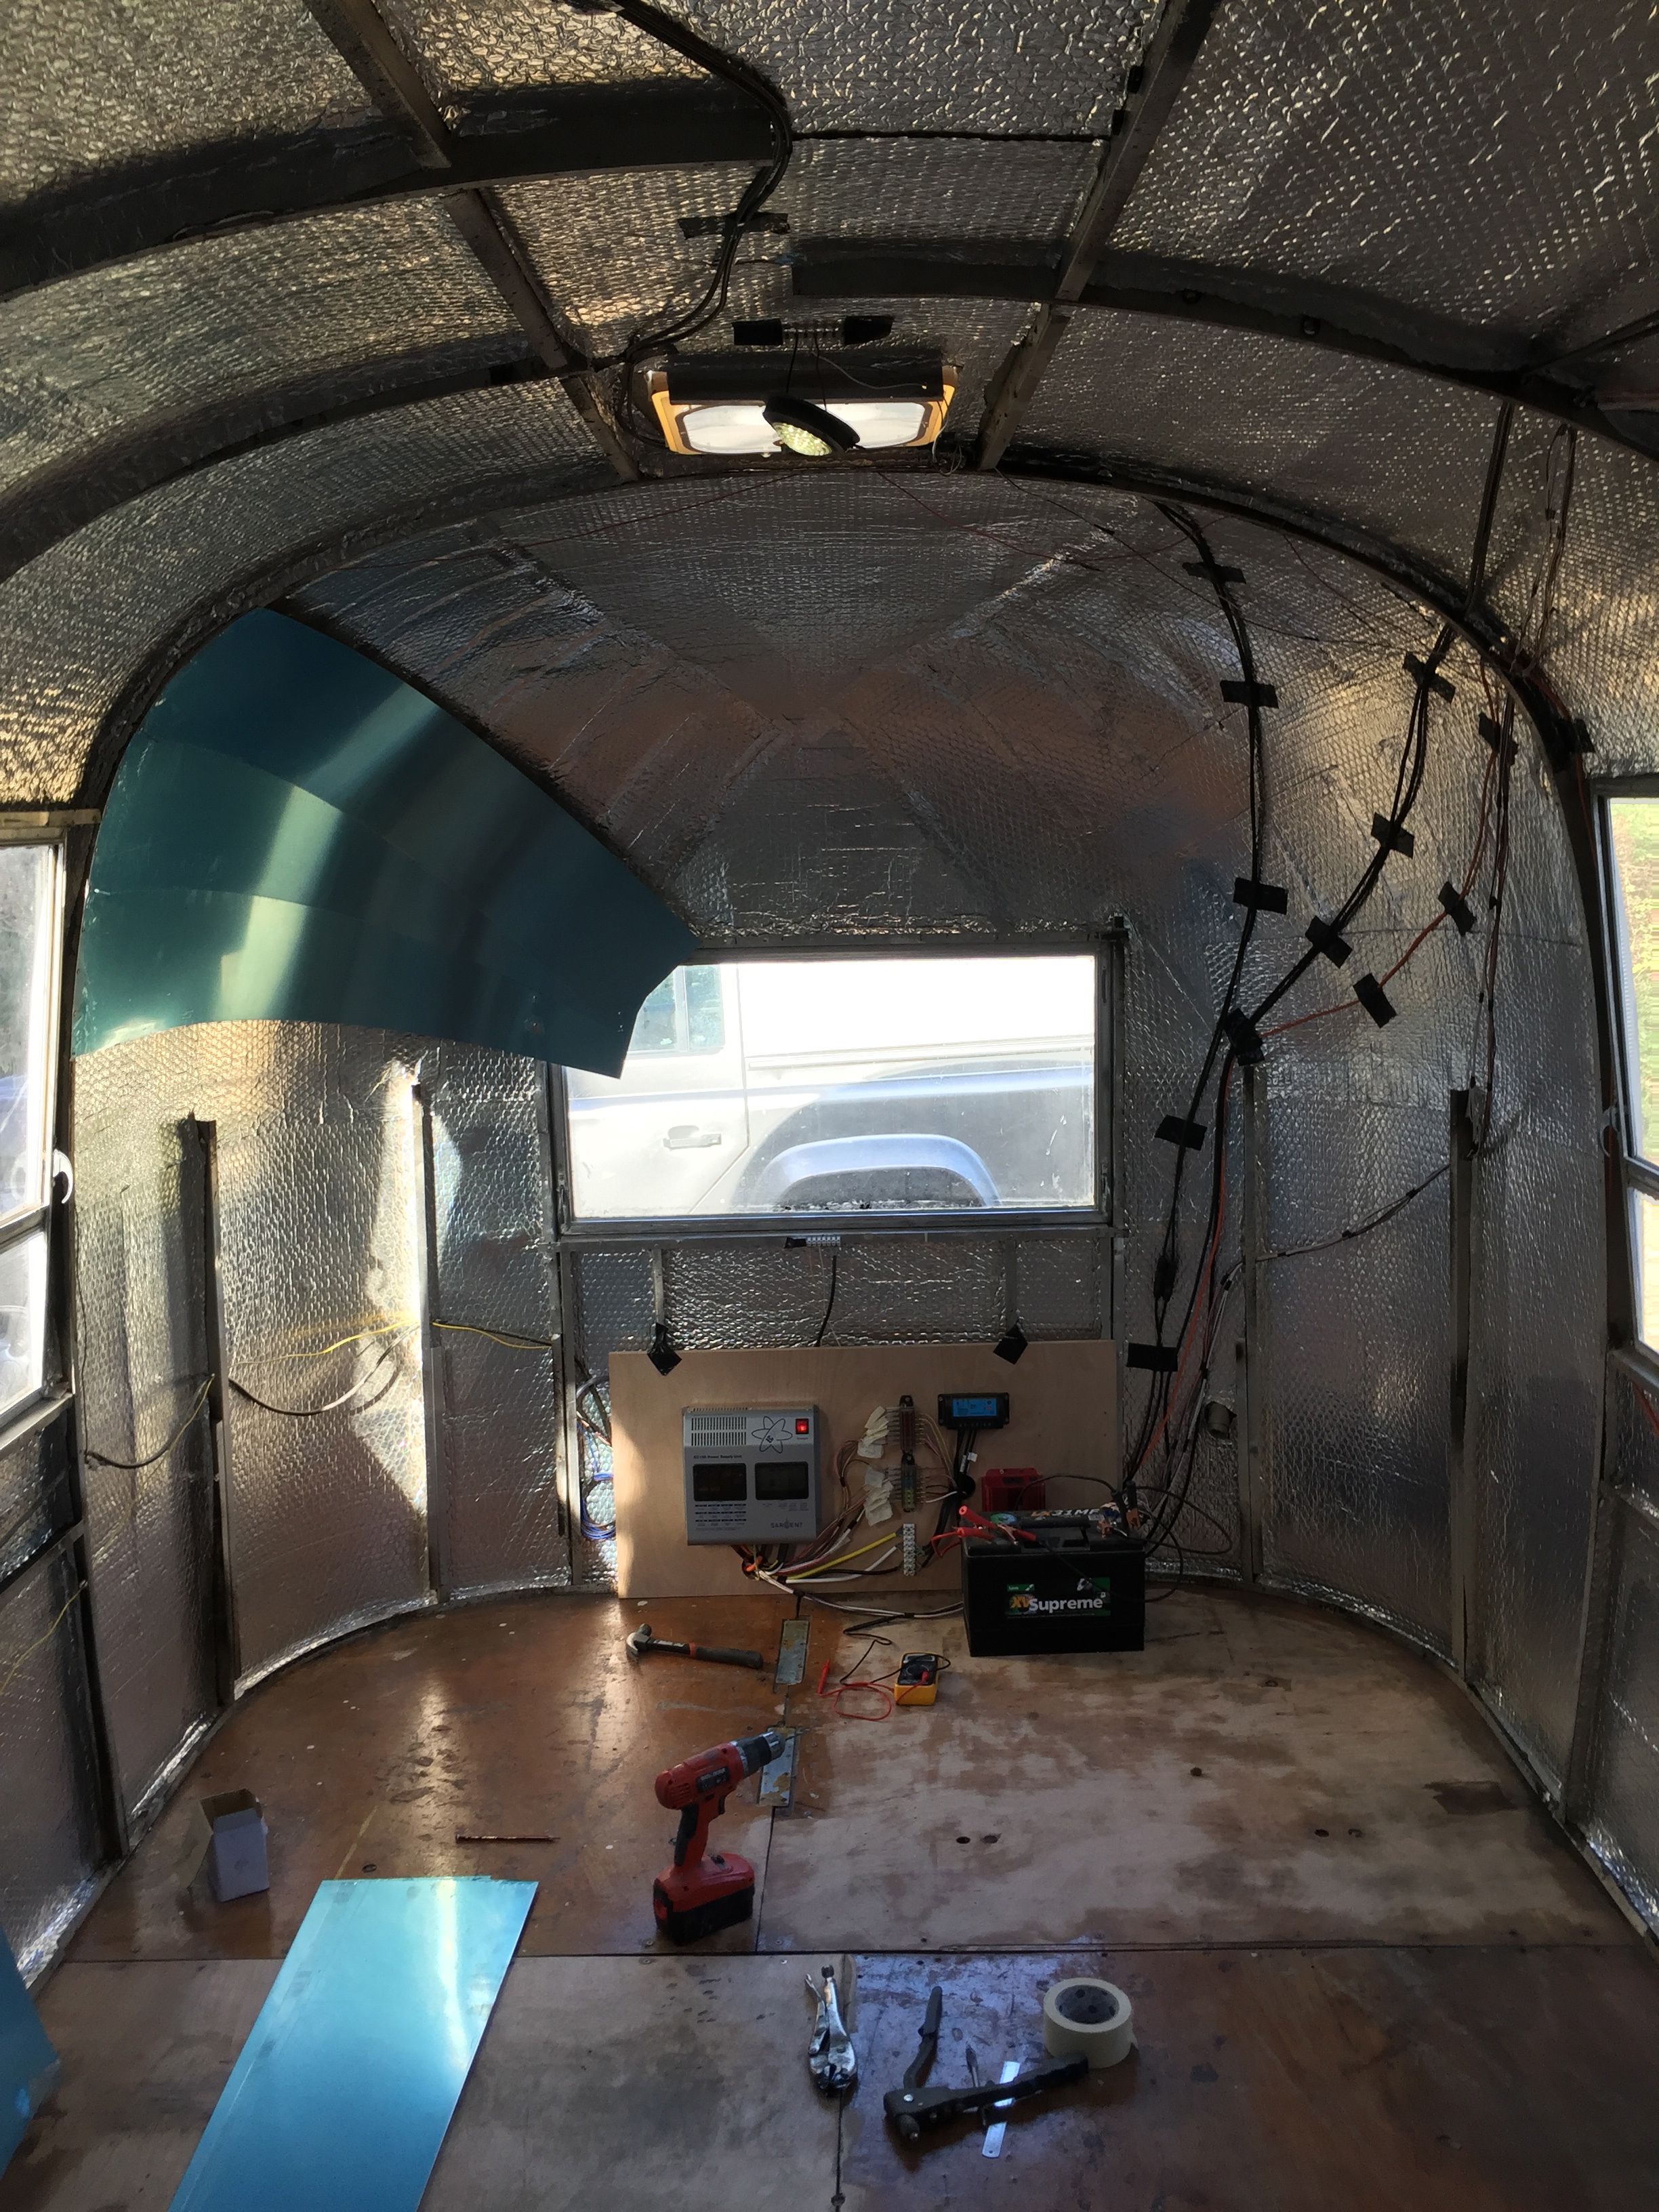
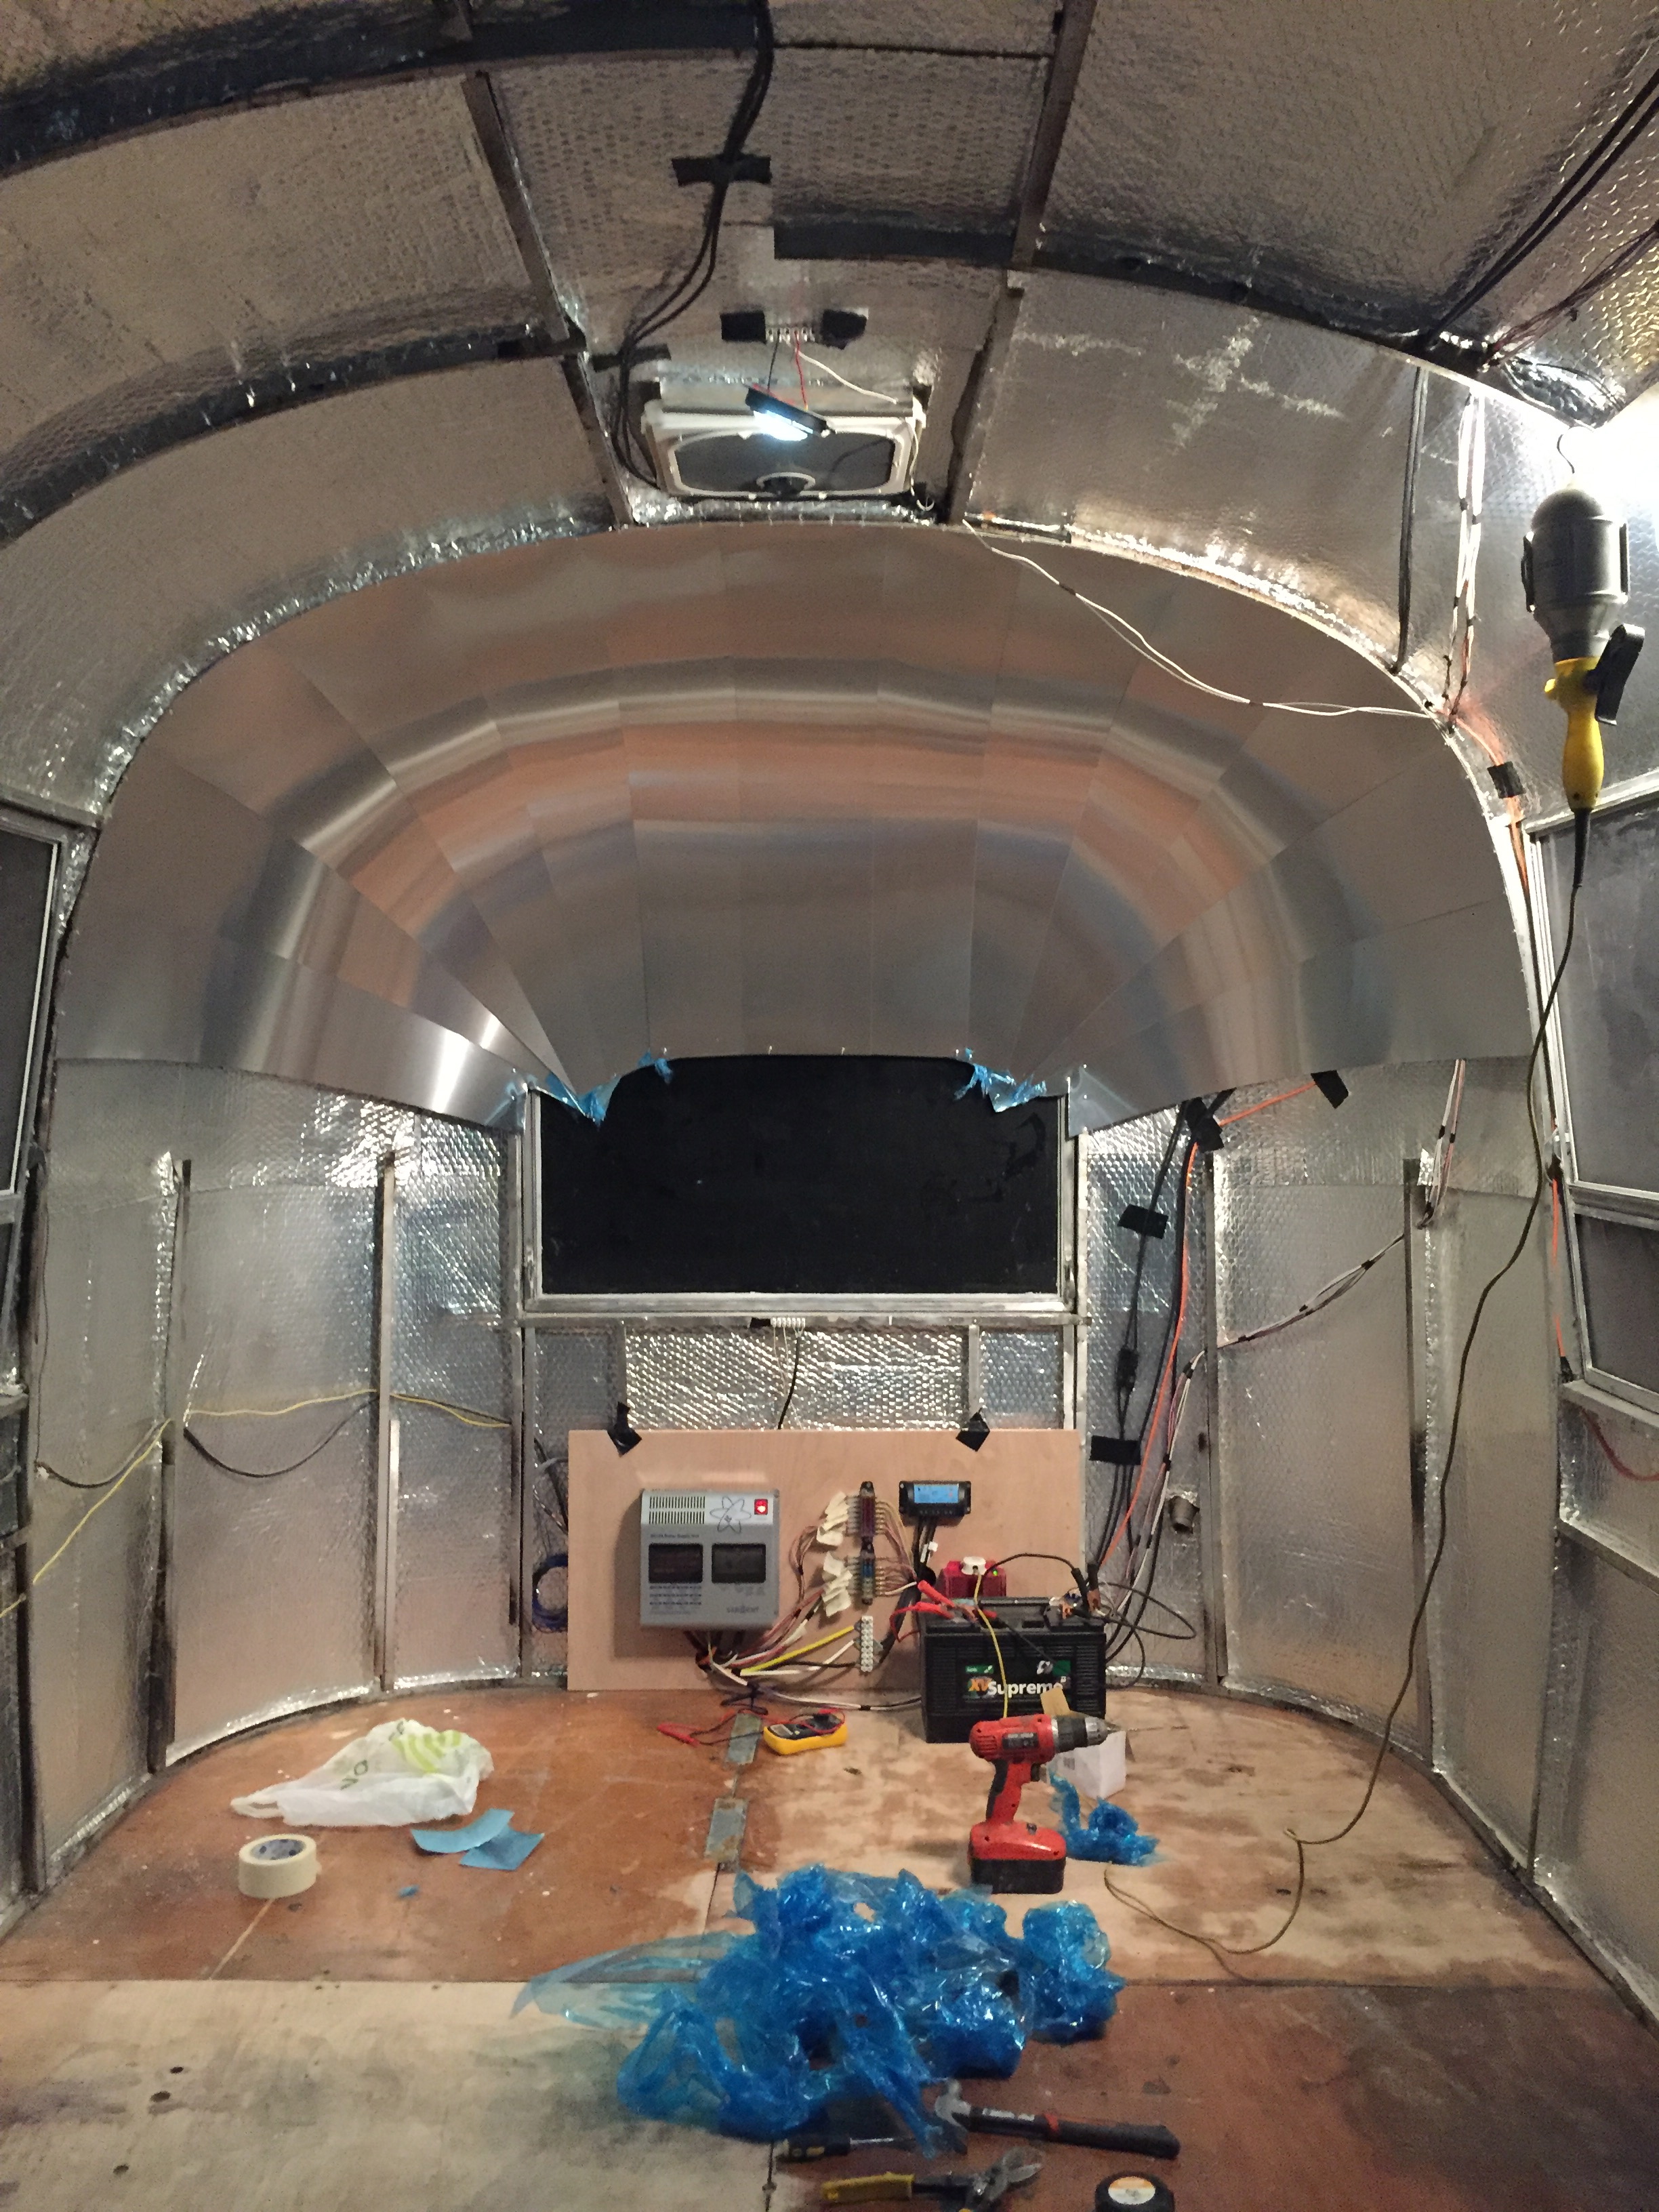
13 peices – 1300mm x 250mm. You can see the peices on the floor in the photo below.
An old wine bottle cork is also require. Put the drill through this so that is acts as a buffer between the drill chuck and the new aluminium, so as to not mark it. It also stops you drilling through to the outer skin, if you get a little carried away!!
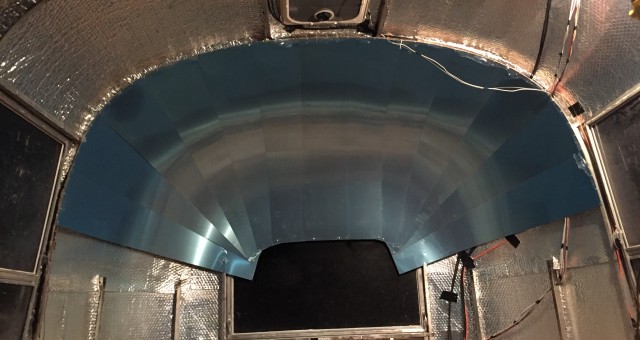
You may ask why 13 sections?? Well I had looked at alot of photos of other endcaps and I wanted a detailed endcap but also managable peices because I know I’d be doing this on my own. I did a trail run with some roughly cut old peices of aluminum from the old interior skin and tested a couple of sizes. I found the 250mm wide followed the rib curves well and was easy to handle. You can then just adjust the lenght depending on the depth of the dome. The rear dome is deeper, so these sections are 1600mm x 250mm (photos to follow once complete).
Now you are ready to hang the first piece of aluminum and then start working your way towards the center, but don’t install the centre peice until the very end!
No complex curves were cut, the aluminum was hung per the sizes listed above. The aluminum was overlapped by 10mm and it creates the desired curves. I riveted the aluminium to the first rib with the shorter edge square to the rib. Then gently bend the sheet to the desired curve and then clamp in place on the window frame.
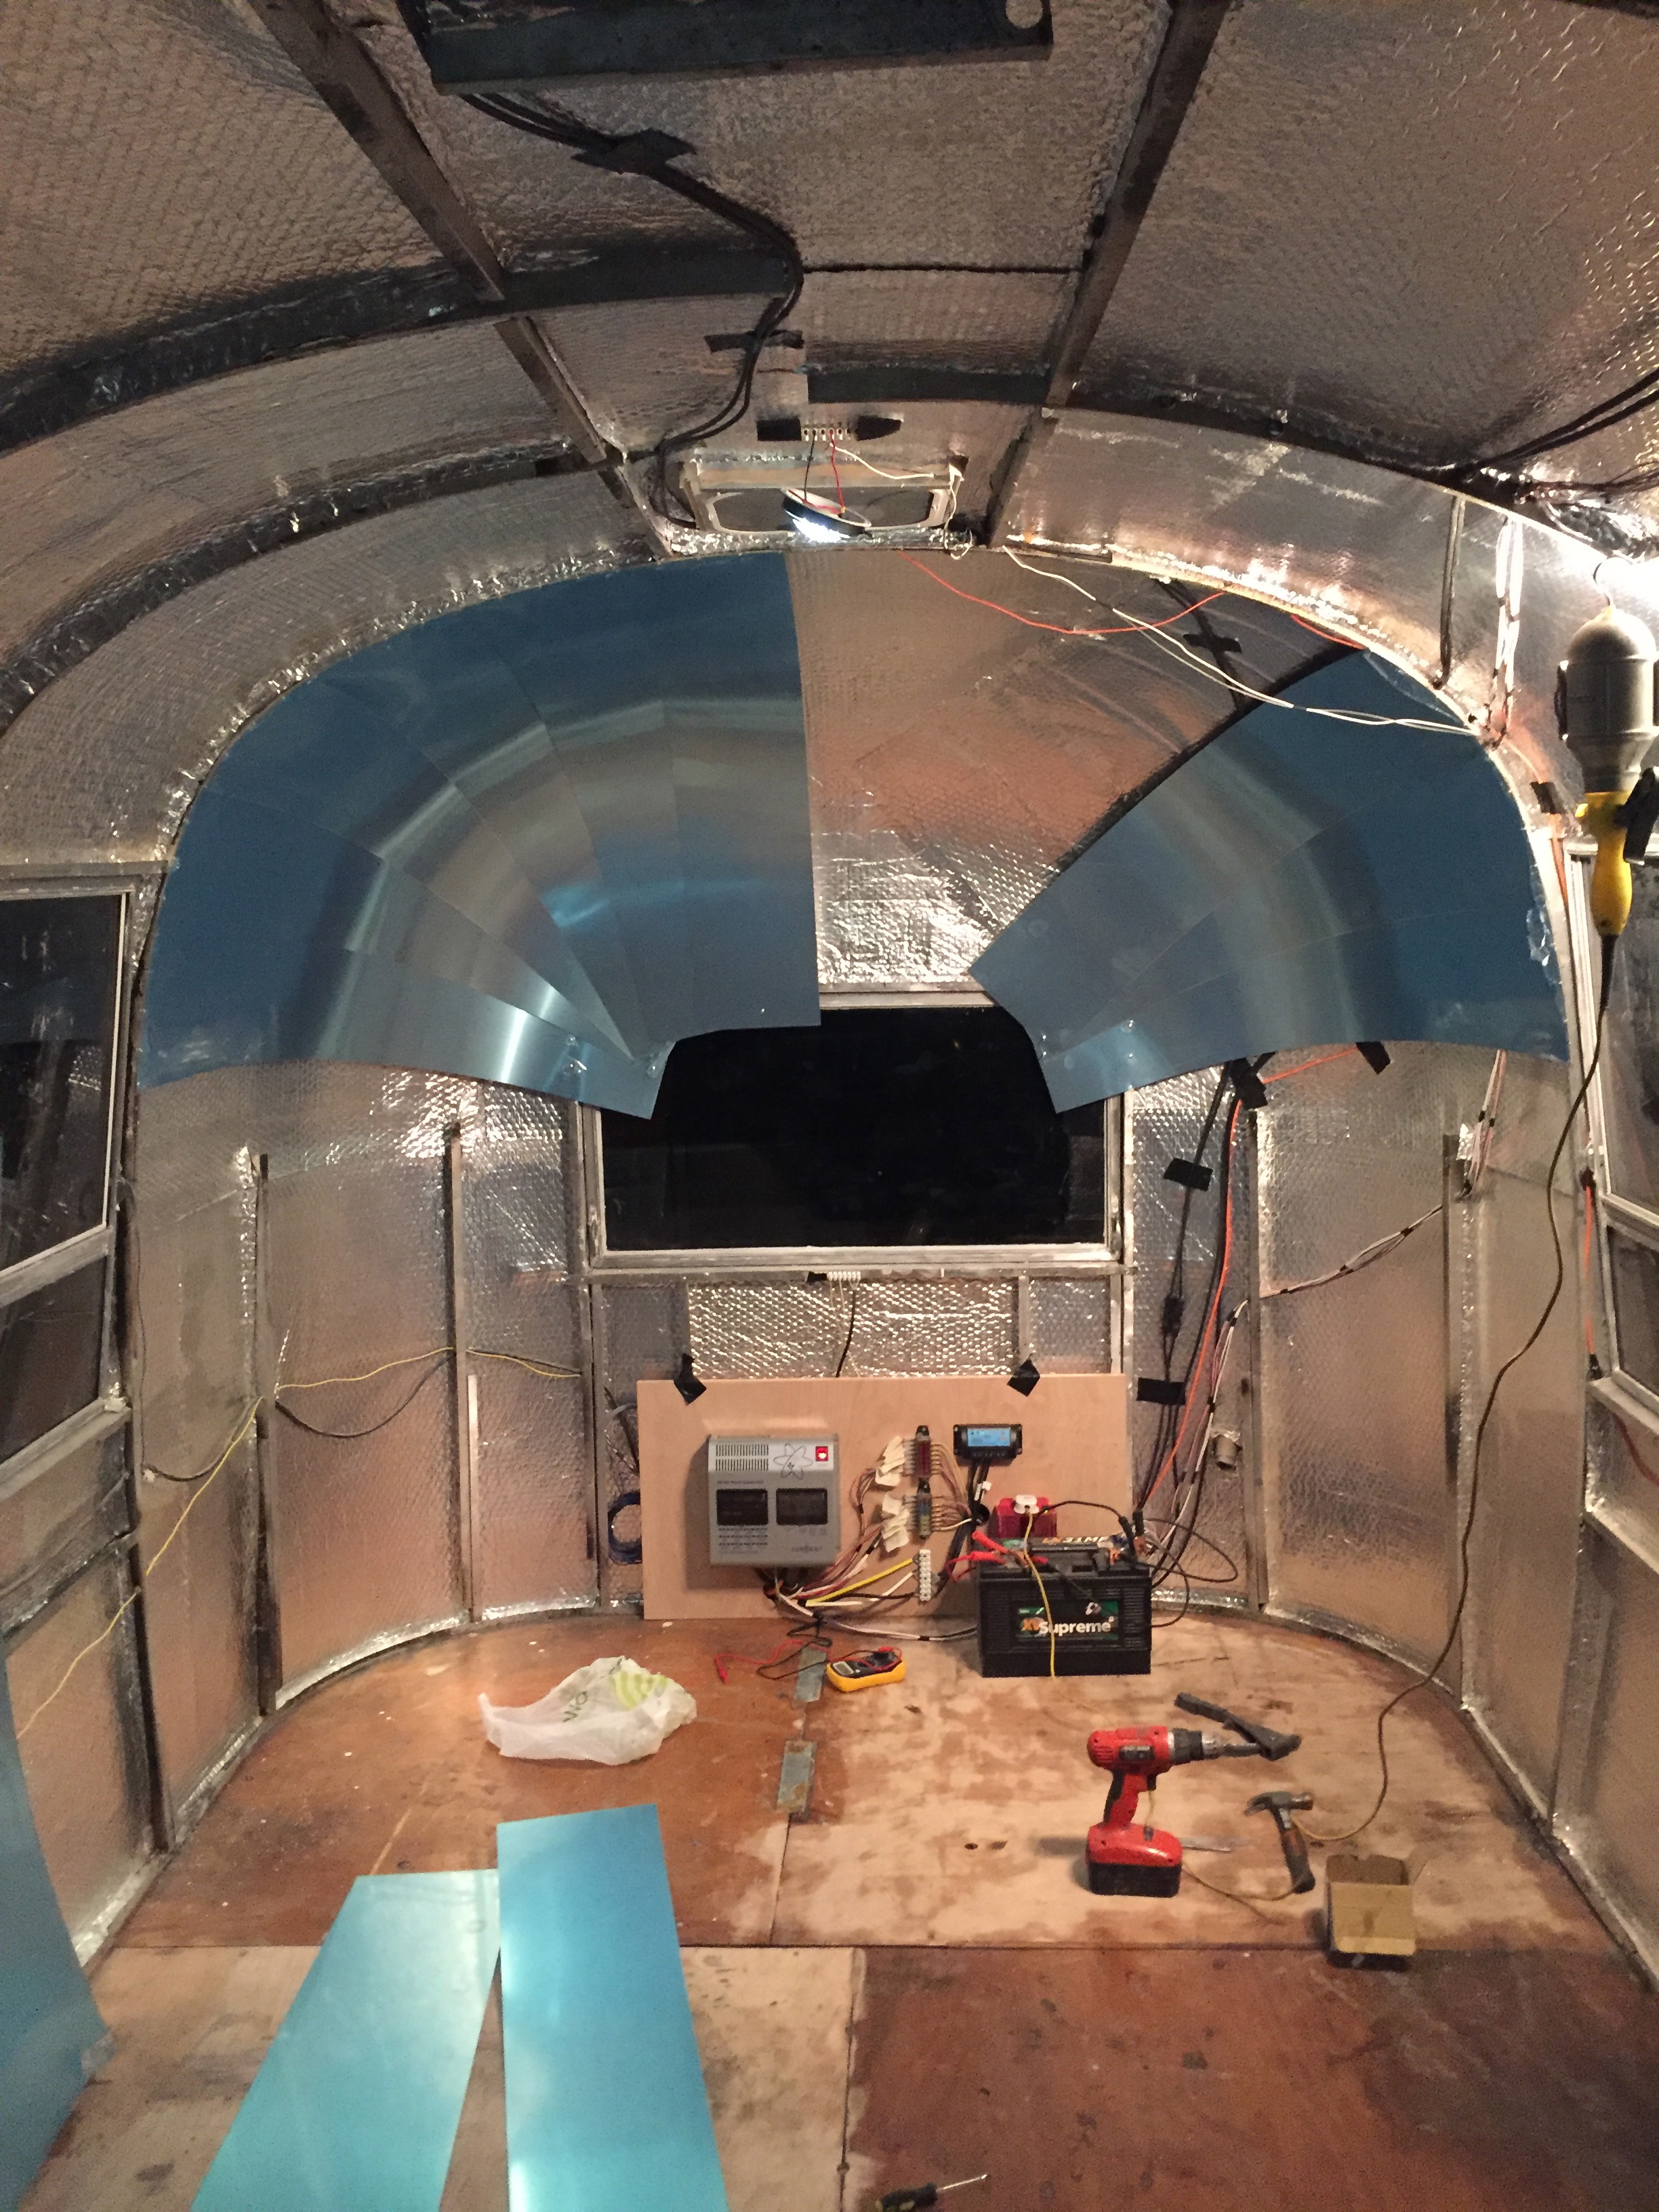
The height of the first piece was defind by the height of the lower corner panel. Below you can see the 6 peices that make up a half. Then start on the other side and work round again using 6 sheets. Then your 13th sheet runs straight down the centre.

Second half of dome underway.
The 2 halves complete below just the 13th peice to run straight down the centre.
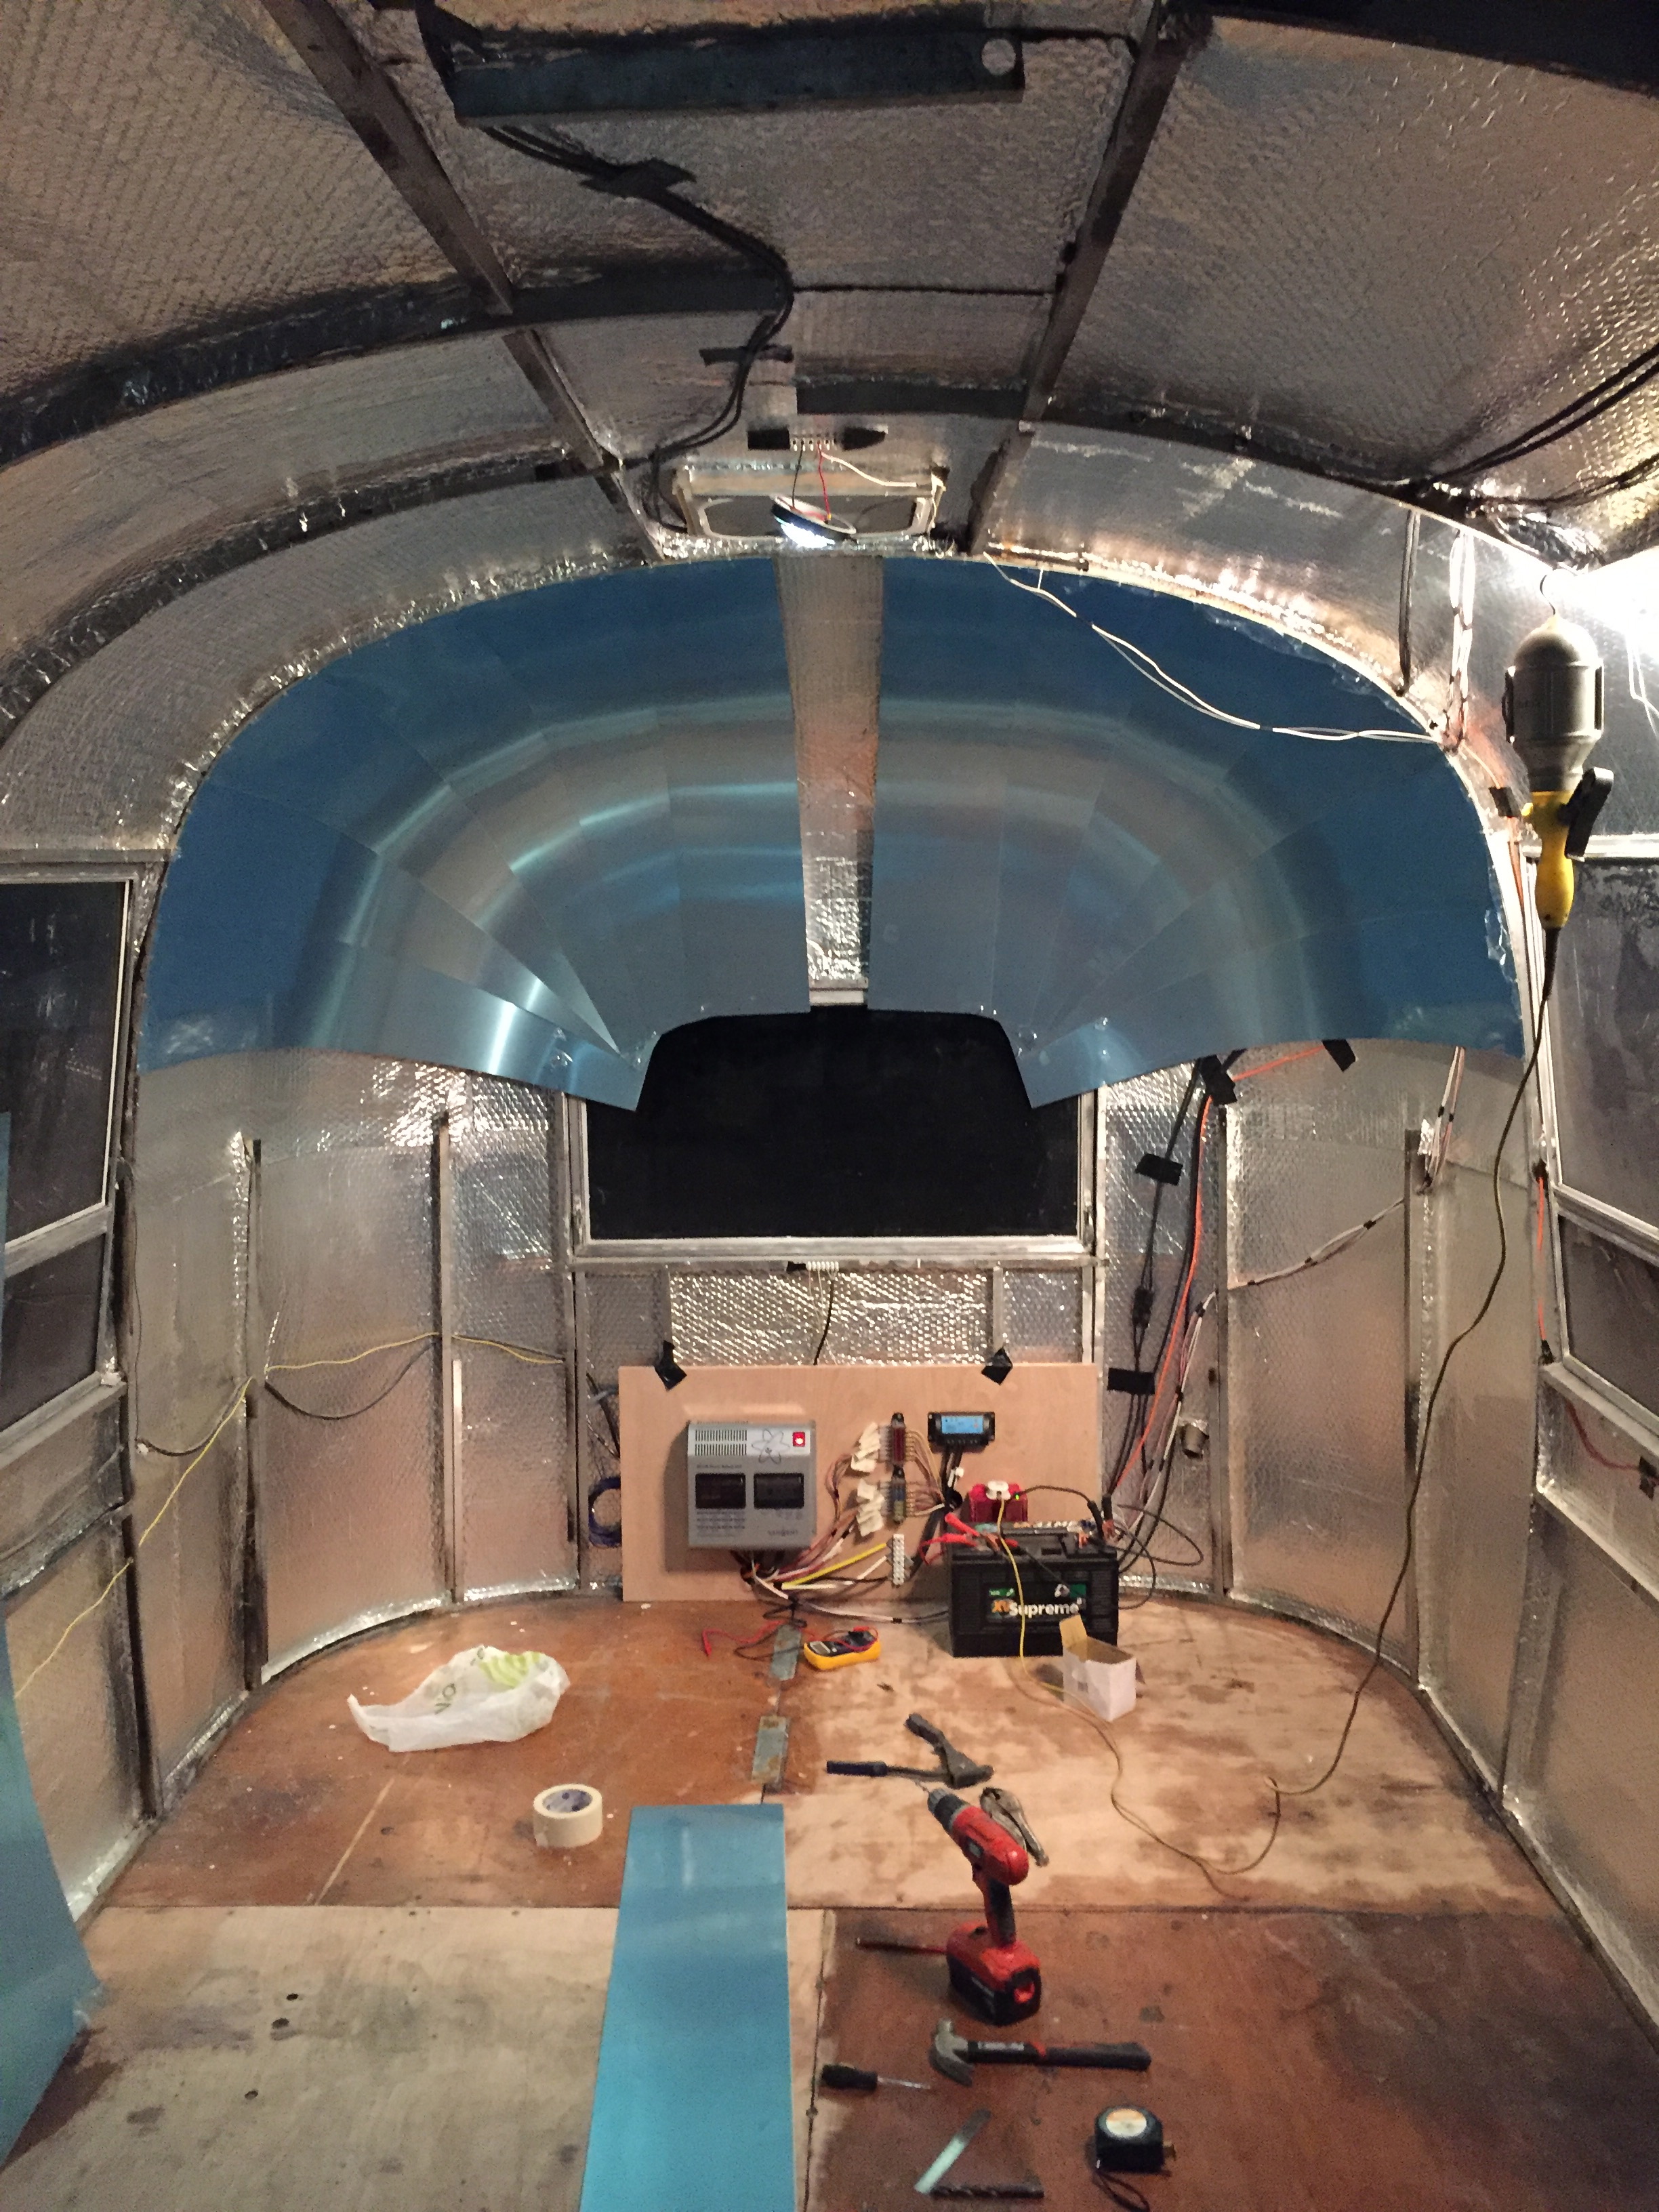
Below you can see the full dome below trimming and full riveting.

Cleco’s rivet tools might be useful but I didn’t have any. Olyimpia shaveable rivets or standard pop rivets can be used.
I was very satifiying to peel off the plastic and stand back and look at the dome. Now I will work my way down the overlaps and rivet every 60mm. This is just the measurement / distance between revits I decided to use.
